Installing a new instance of SQL Server 2014 Enterprise Edition is an easy task by using SQL Server setup installation wizard. Once an instance is installed on your system, you have the option of installing multiple instances of the same SQL Server on your system.
Before installation please ensure and check the hardware and software minimum requirements for installing SQL Server 2014.
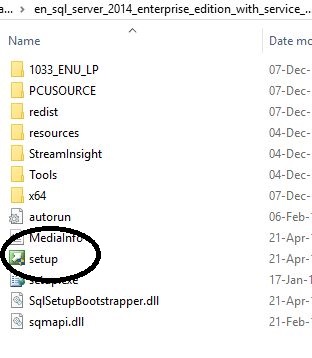
Step-by-step procedure - Firstly, go to the SQL Server Setup folder, Click on Setup as in the following,
Example
Step 1 - In first step of Planning: You have the option of Insuring/Checking Basic Hardware & software requirements before installation

Click on Hardware and Software Requirements: It will take you to the online Microsoft page, please check requirements before installing SQL Server 2014.
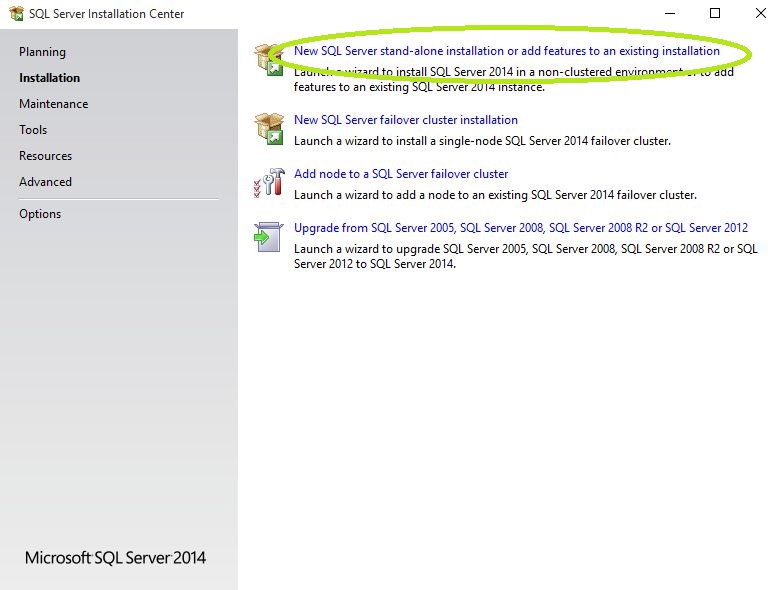
Step 2 - Click on Installation: In this section click on New SQL Server stand-alone installation or add features to an existing installation.
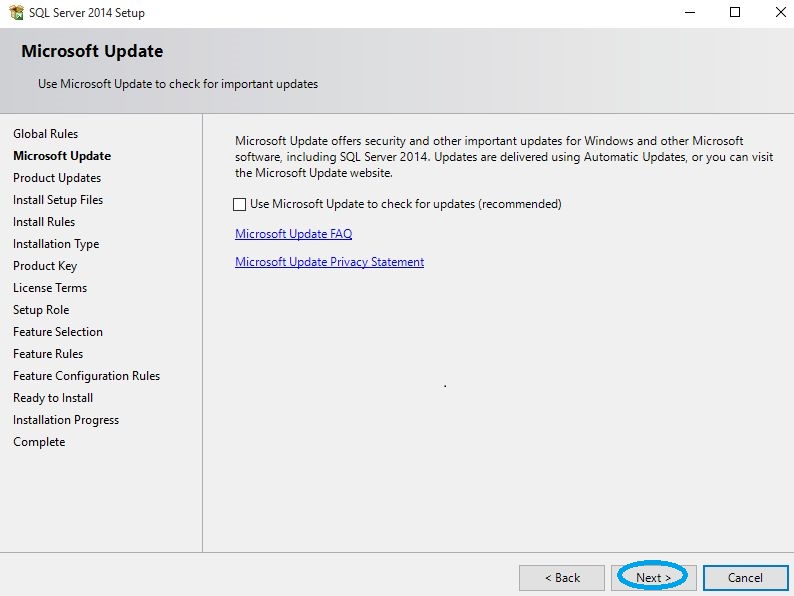
Step 3 - A new window will open: Click Next.
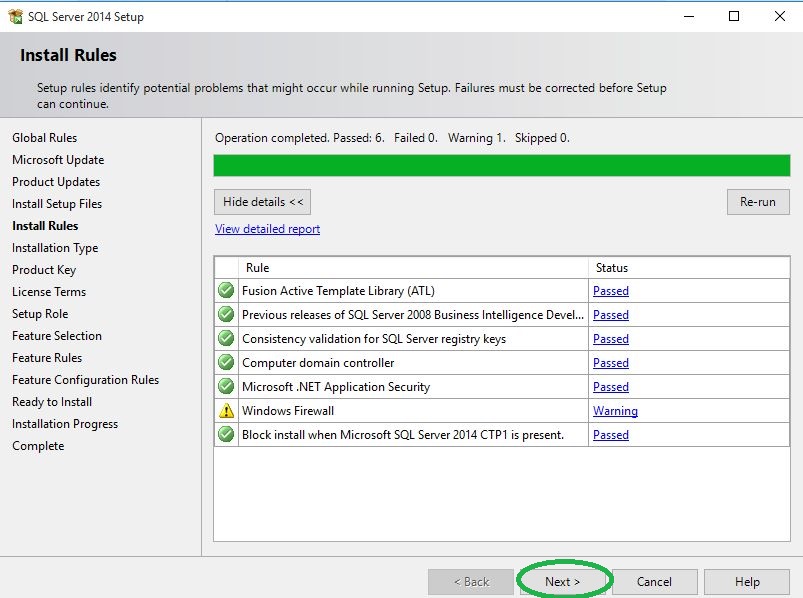
Step 4 - Clicking on Next under Install Rules: You can see rules passed, error on Windows firewall, for this click on warning and TurnOff windows firewall and click Next.
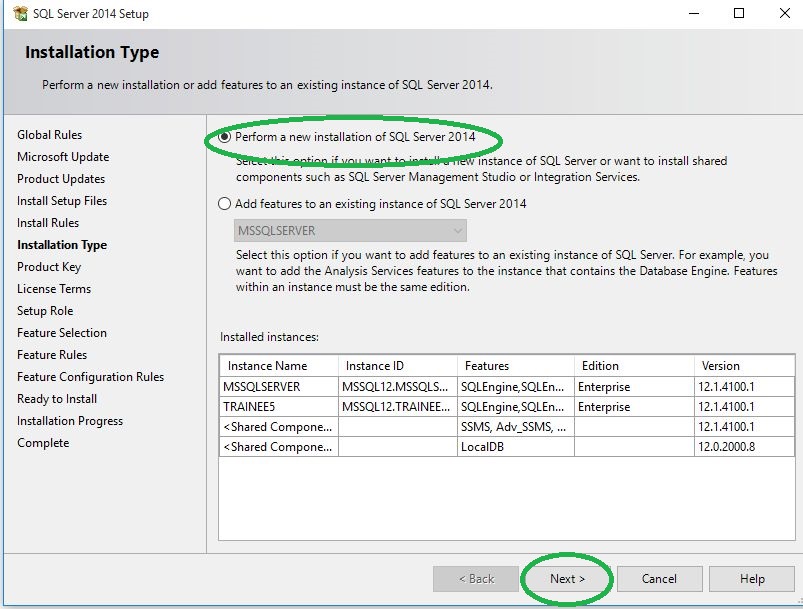
Step 5 - In Installation Type: Select Perform a new installation of SQL Server 2014 and click Next.
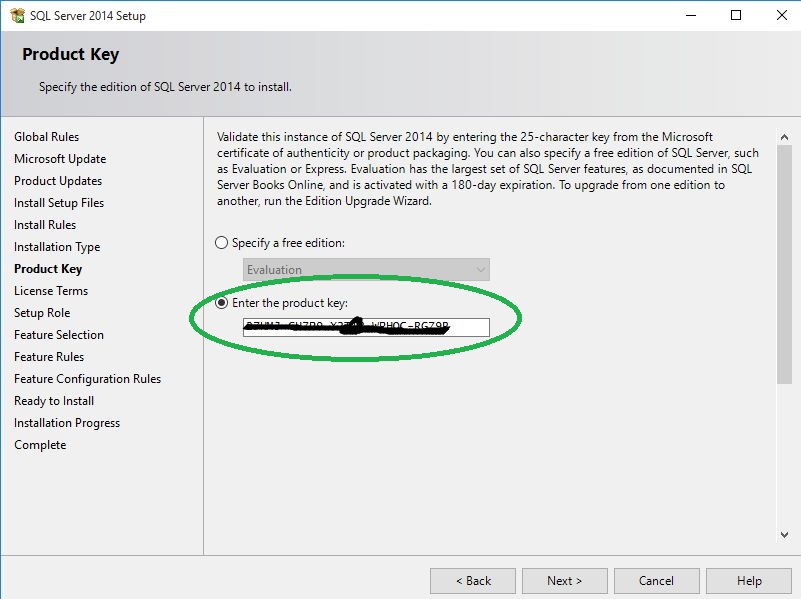
Step 6 - In Product key: Enter the product key, click on next.
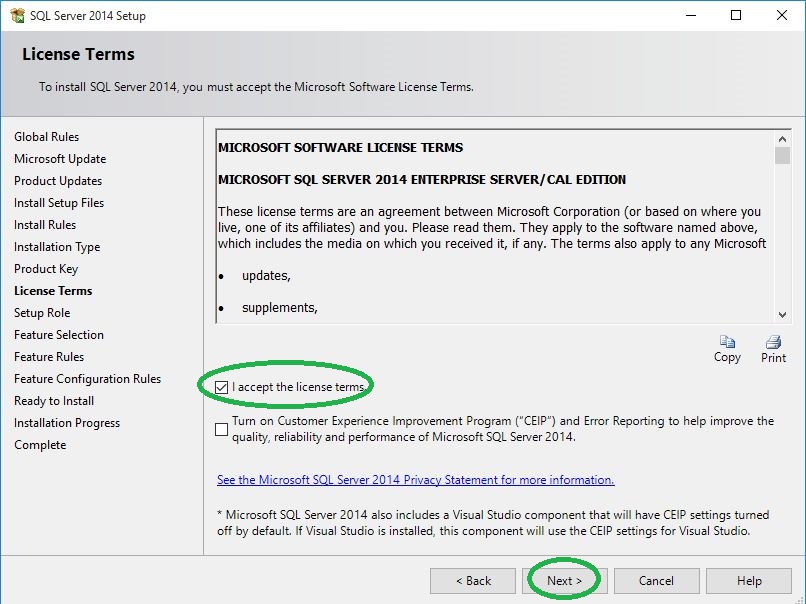
Step 7 - In License Terms: accept terms, click on Next.
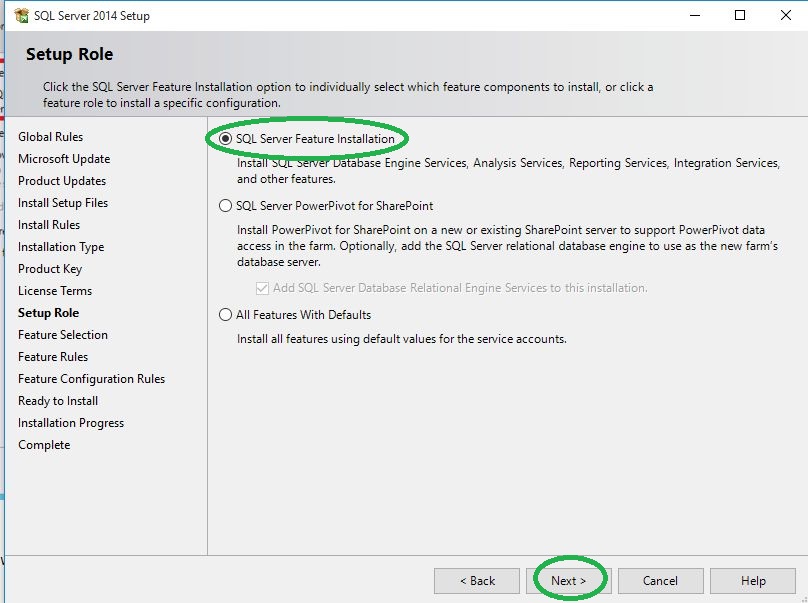
Step 8 - In Setup Role: Select SQl Server Feature Installation and click on Next,
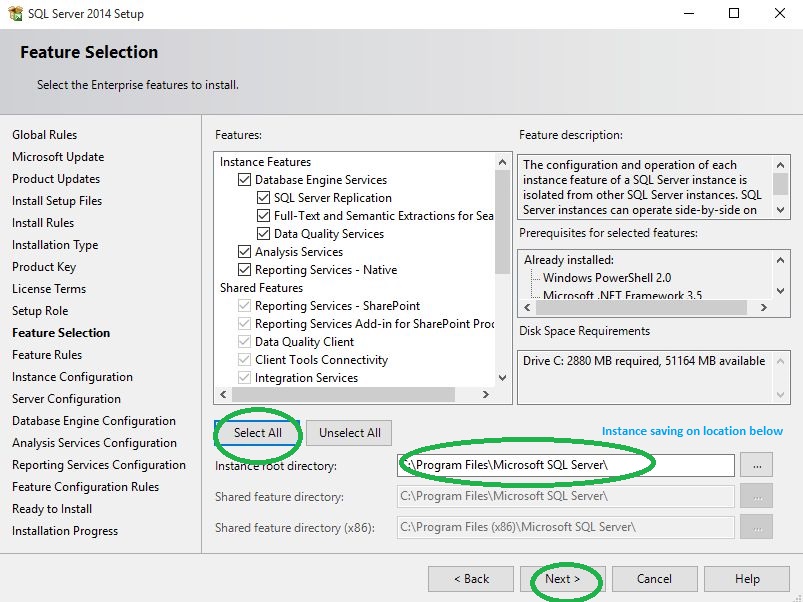
Step 9 - In Feature Selection: Select features as All, Instance Saving location can be changed and click Next,
Step 10 - In Instance Configuration: You can select Default option for default instance name, my system already has server instances, so I selected Named instance for new instance name, Now click on Next.

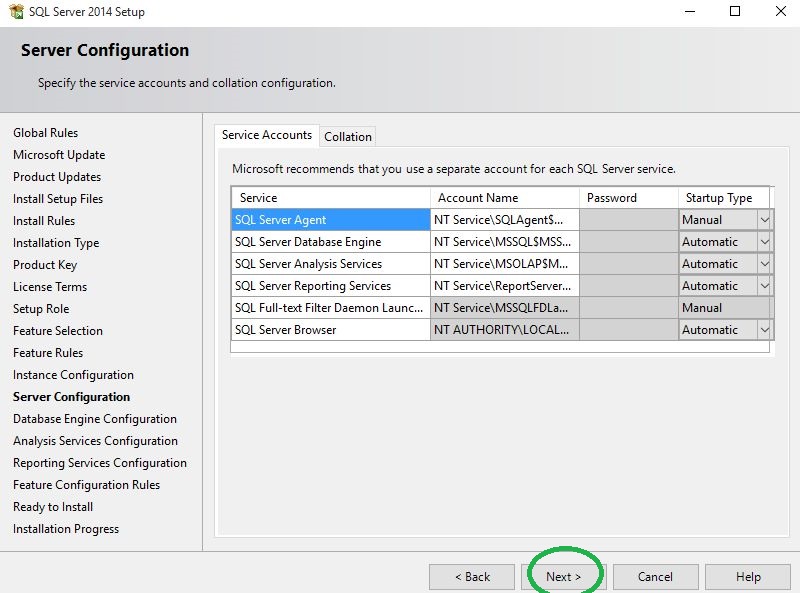
Step 11 - In Server Configuration: Click on Next.
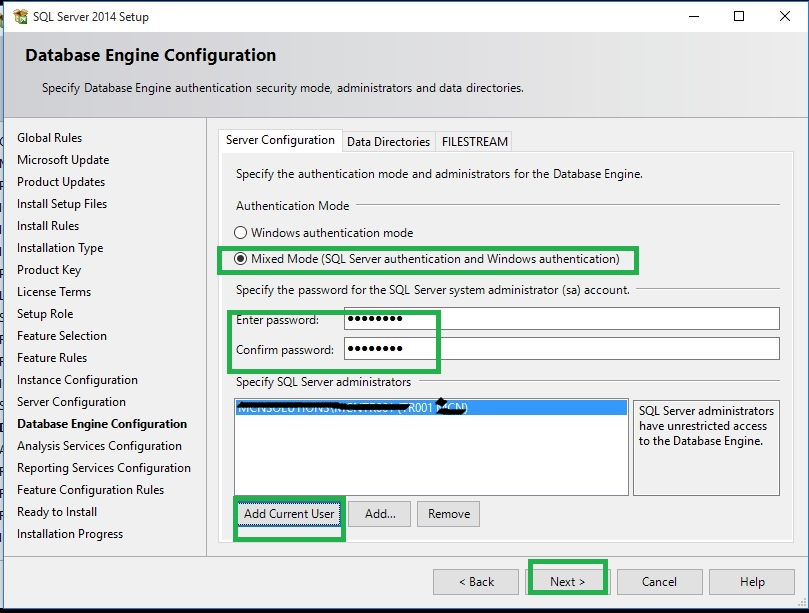
Step 12 - In Database Engine Configuration: You have the option to provide Window authentication or Mixed Mode for separate login accounts. Make Sql Server Login account and click on Add Current User to add windows authentication for existing user. Click on Next.
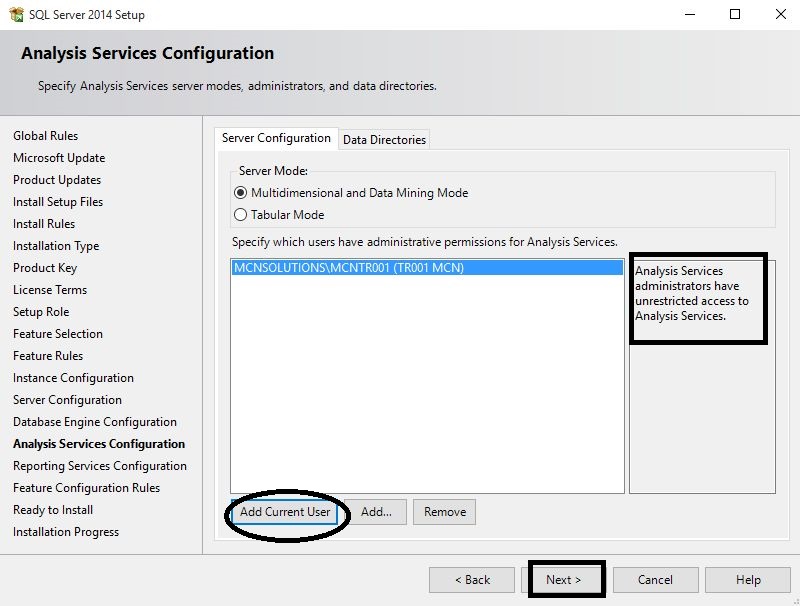
Step 13 - In Analysis Services Configuration: Click on Add Current User for login authentication and click on Next.
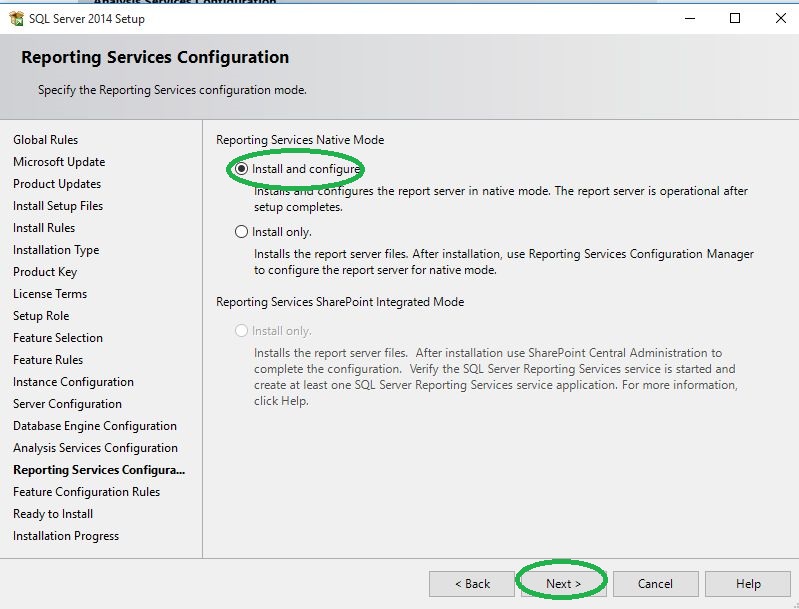
Step 14 - In Reporting Services Configuration: Select Install and Configure option and click Next.
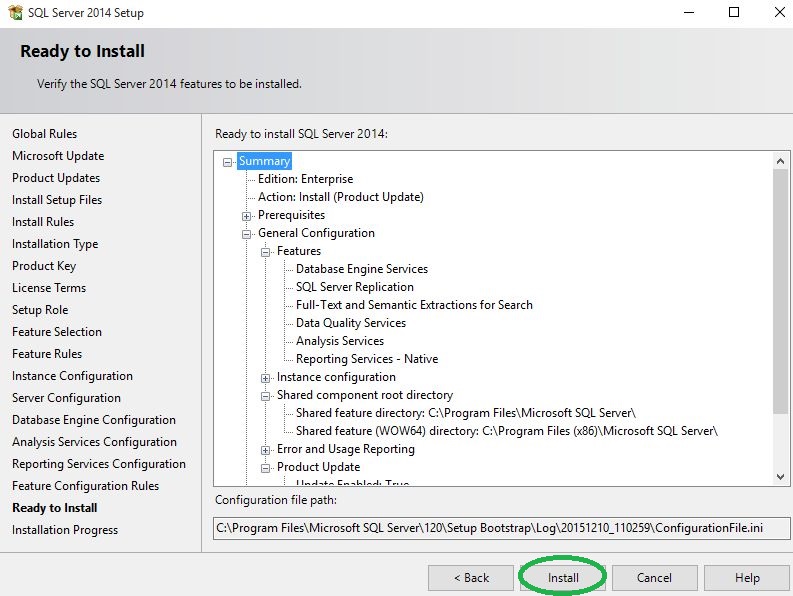
Step 15 - In Ready to Install: Provide Configuration files saving path on your system. Click Install.
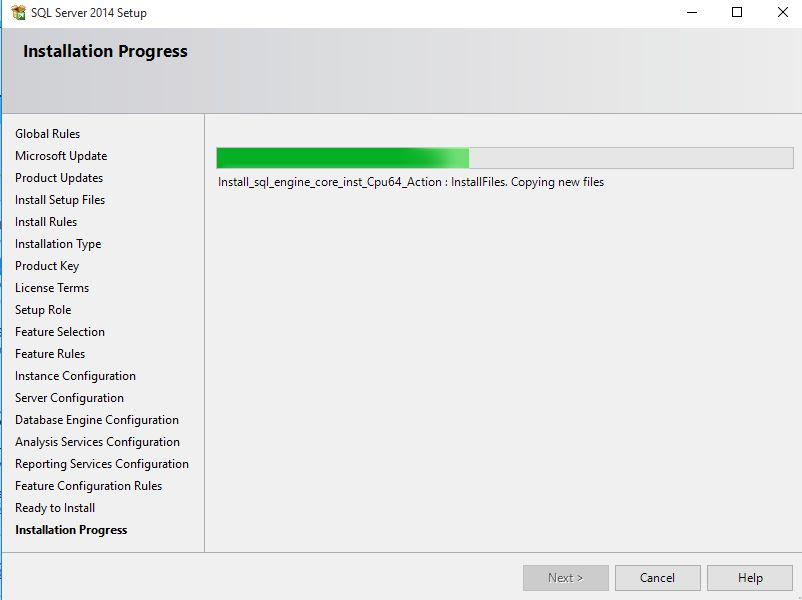
Step 16 - Now you will see Installation Progress as in the following,
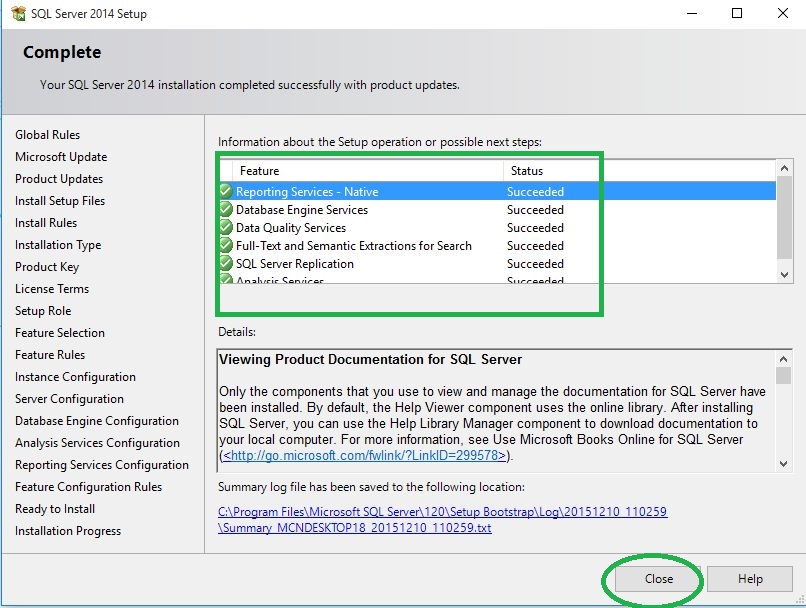
Step 17 - Once Installation is completed, you will see Features as Succeeded. Now click Close.
Now search SQL Server 2014 Management Studio in your system search/window 10 cortana by typing …SQL. Here's the screenshot,
Example
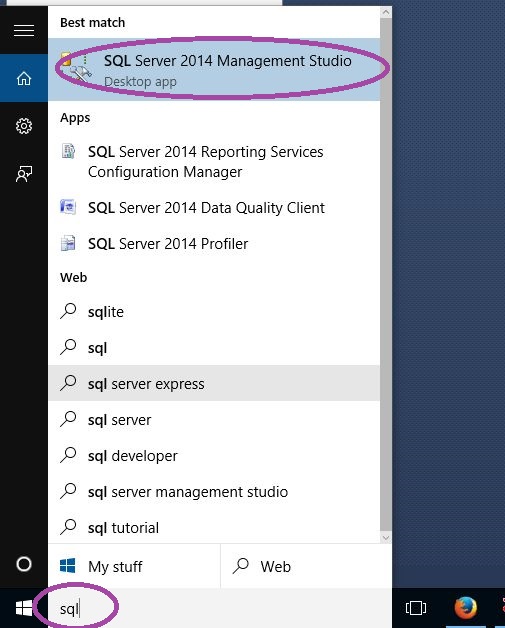
Click on SQL Server 2014 Management Studio
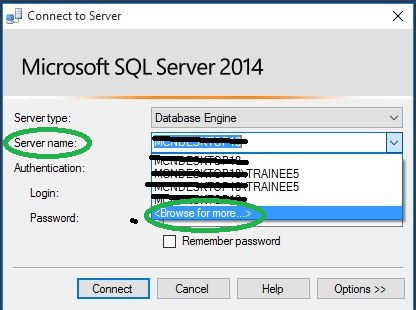
Then select Server name: It is the server instance you have created or if you have multiple instances just click on Browse for more and select the desired server.
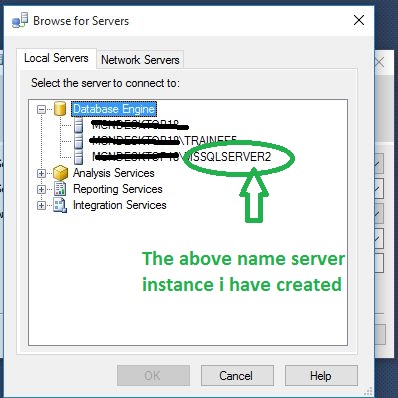
When you clicked on Browse for more, the following window will open, select your server name instance that you have created in it.
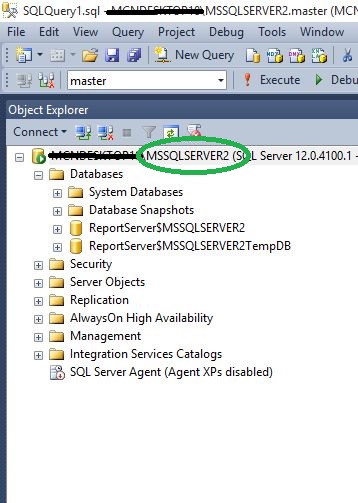
Once login is done you can access SQL Server that you have created: MSSQLSERVER2 is the one I have installed and it is ready for use as in the following,
Here's a free e-book on SQL Server: Introducing Microsoft SQL Server 2014